On this page you will be learning how to use input on a Windows Form Application. Since I haven't taught you how to use a Windows Form Application. I'll start with the basics.
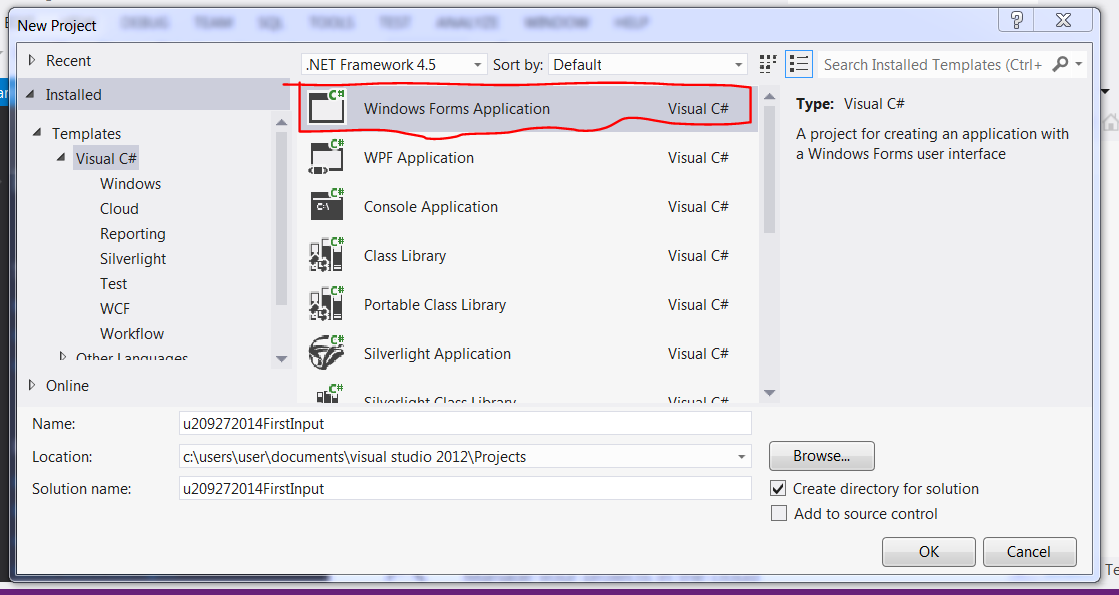
To start the program you start it like you would with Console Application, but instead of clicking Console Application, you click Windows Form Application.
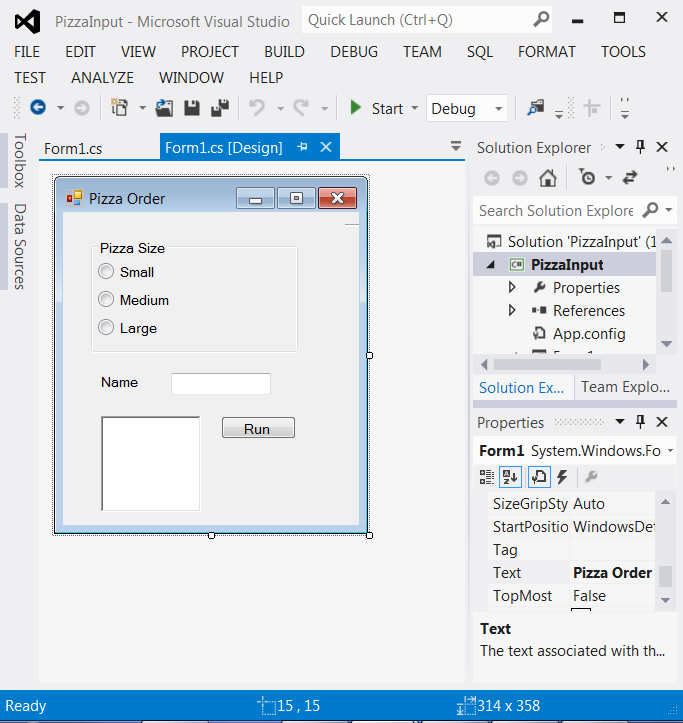
Your Next step is to be familiar with this next screen, because this is where you will be designing your program.
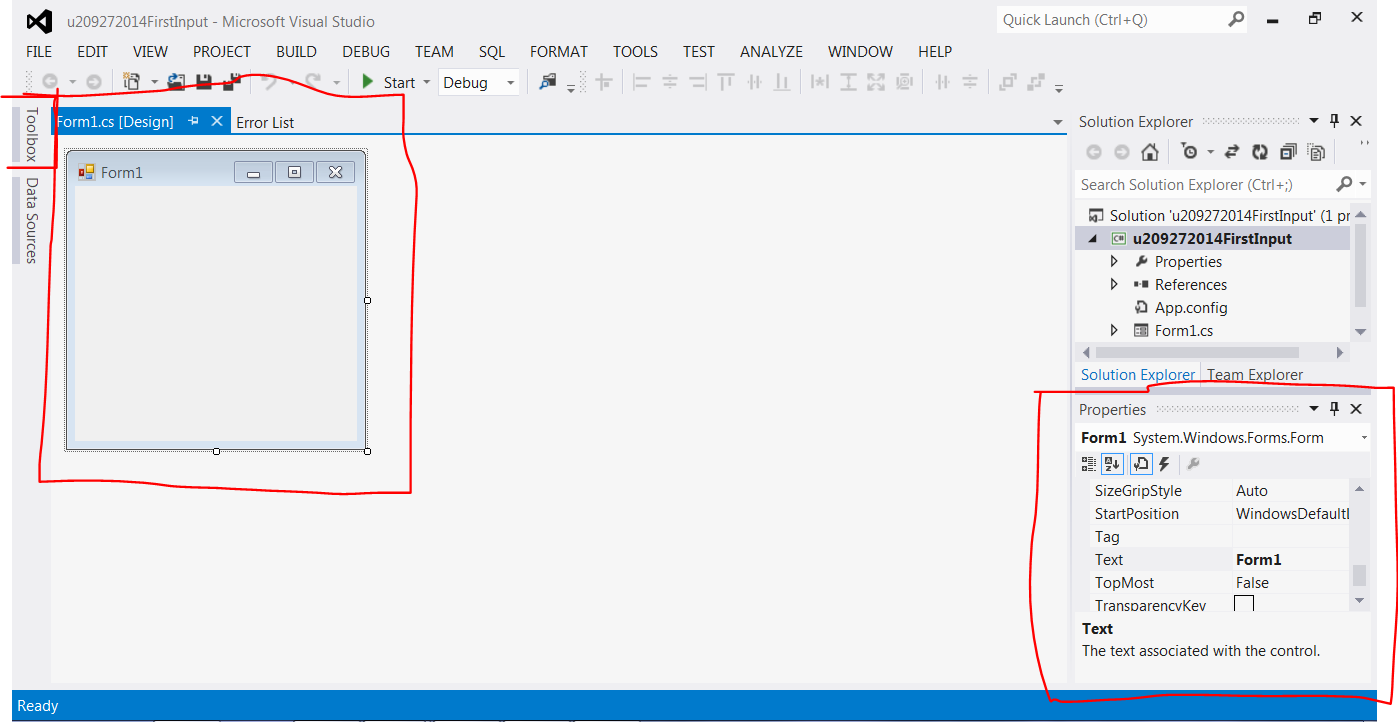
I highlighted the most important aspects to the form. The Form itself, The Toolbox and the Properties column. These are important because the Form is the design of the program. The Toolbox is where you get all the Jazz stuff you'll can use. (It'll be shown in the next picture.) The properties is where you could change the name of the tool you used and the colour, size, font, etc...
Now that you know the basics of the new application. We will start a new Project. We're calling this the Pizza Project! So first things first make your form look like this.
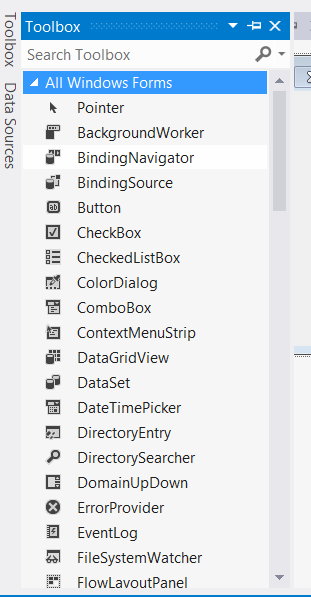
To start this, you will need to click on your toolbox, click all windows form, to get to the place you need to get all these things:
How to get this onto the form is by clicking and hold the title and drag it onto the form. Make sure the form is visable for it to be drag onto because the tool box wont disappear until it is on the form. Set it up on how you please. It does not have to be a replica of my form.
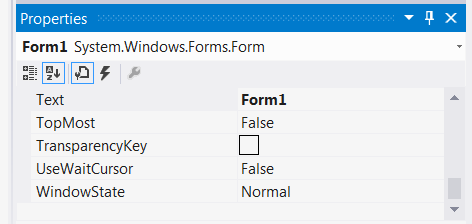
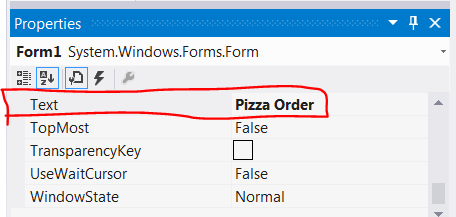
Next order of business is to go to your properties list. To do this, click the Form1. At the bottom right hand screen, the box will show you the properties of that form. Go Down the list and find the word Text, clear the box and write in Pizza Order.
Now click the groupbox! You do the exact same thing that you did for the form1 but write Pizza Size.
Now click the Label you do the same thing, but write Name.
Now the next few steps you be adding a name for the object. Lets start with the radio button. Click the First Radio button. You first need to go to a label in the Properties list named, (Name) and fill in rdbSmall. (rdb stands for Radio Button in this application.)
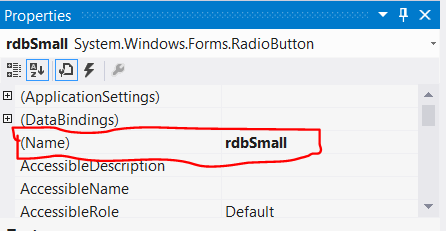
After you go to the text box in properties like the others and write Small. It will change the name of the radio button.
You will do this for the rest of the radio button but instead of small it will be large and Medium.
Now for the Textbox and the RichTextbox. There is a difference in these two boxes. A textbox can only write one line of words while the rich text box could write multiple and change colours and font. Anyways. You will be doing the same thing as the Radio buttons, but in (Name) you'll be writing txtName and rtbOutput. (txt means textbox and rtb means rich textbox.) You will not need to go to the text property because these boxes do not need a name.
Now for the button. You will be changing the (Name) to btnRun. (btn means button.) You change the text property to Run as well.
Now that we named all the objects you will be double clicking the buttton Run. Your screen will look like this afterwards.
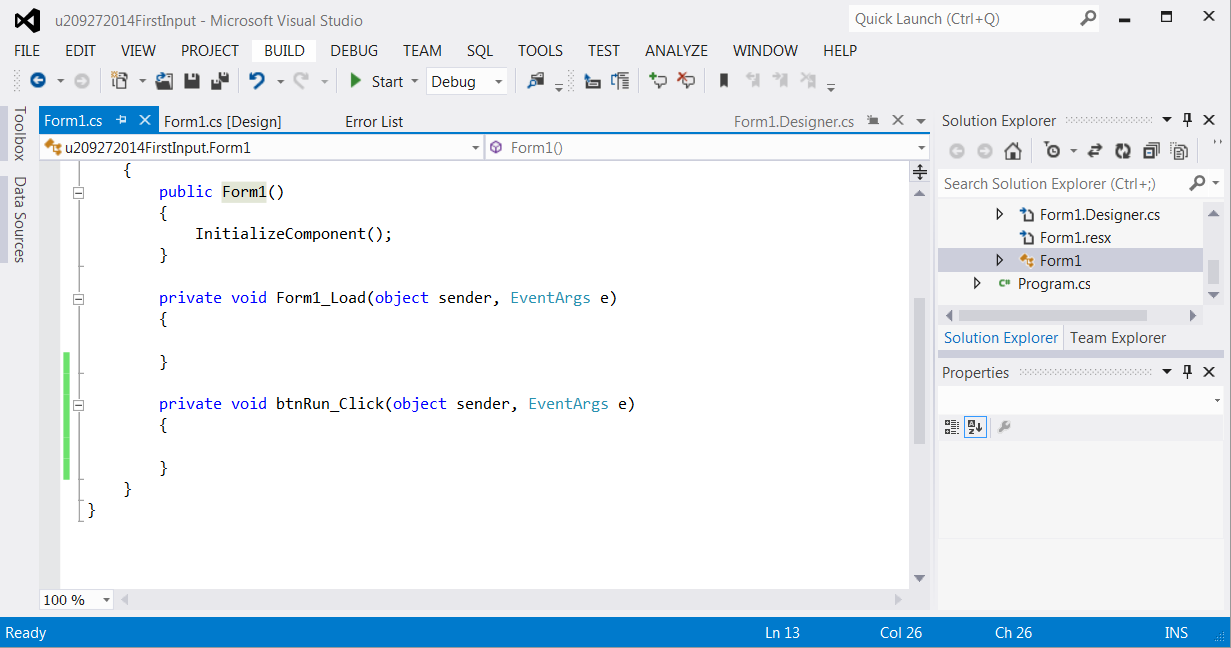
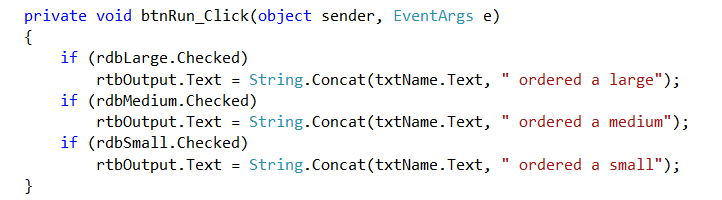
Now you enter the code that are written in the next photo the press start to see if it works!
And Now you are down your input program!