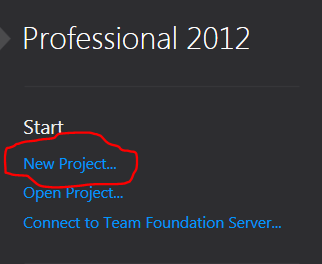
Here is the first step to starting a program!
The second step is what program to press and what you should save it under.
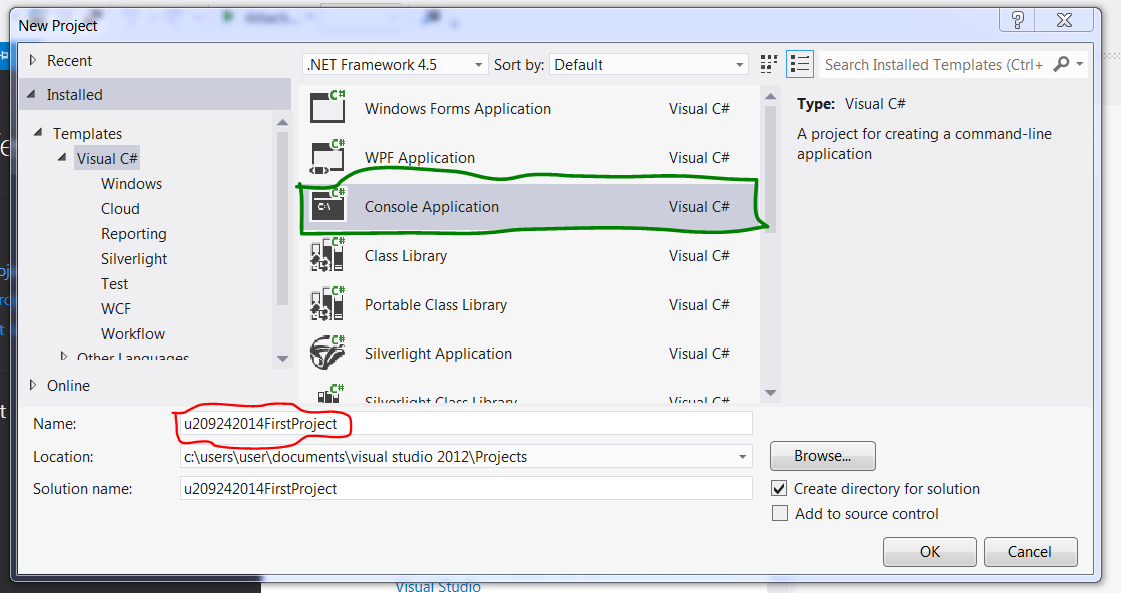
We will be doing a Console Application Project. There are other forms of coding that you may use as you wish on your own. In the save box, you should always put the name of the project in before starting the program because Visual Studios saves automatically once started. As you see in my example, there is a whole bunch of numbers and letters. The first two digits are only for students in a school computer programing, this states the unit that you are currently in. The next eight digits is the month, day, and year (In that order). This will help you keep track of the days you did the project on. The word First, is your name, this is if you are willingly to show other people your project this file will have your name on it so they now who it is from. The word Project is the name of the project. Always good to have so you can know what project is what.
You will know write a code. You could use this as an example for your first project.
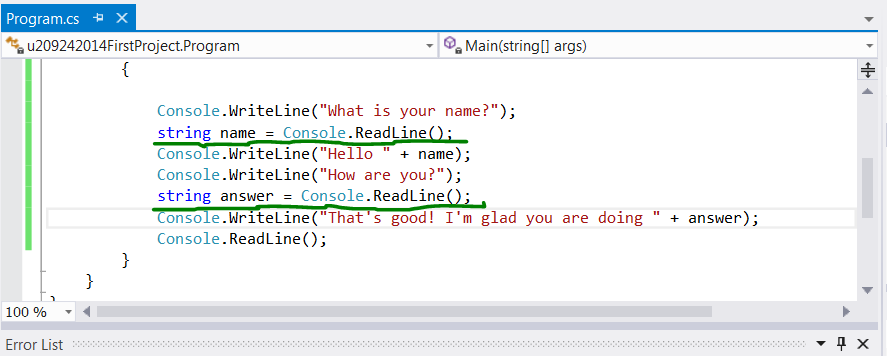
This code is having a conversation with you. It will ask for your name and then ask you How are you? Your give your answer and the computer will respond with an automatic answer that you have wrote in.
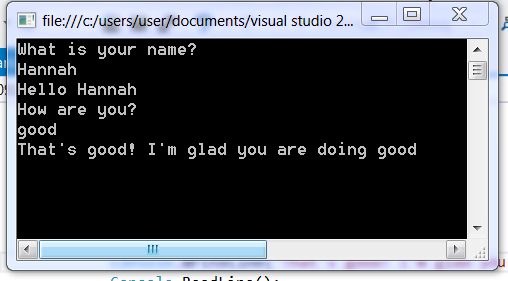
Press the Start Button.

And Viola! Your Program should look something like this!
This is the last of the Tuturial on the Console Application in Visual Studios.